How to Transcribe Teams Meeting Audio on a Mac
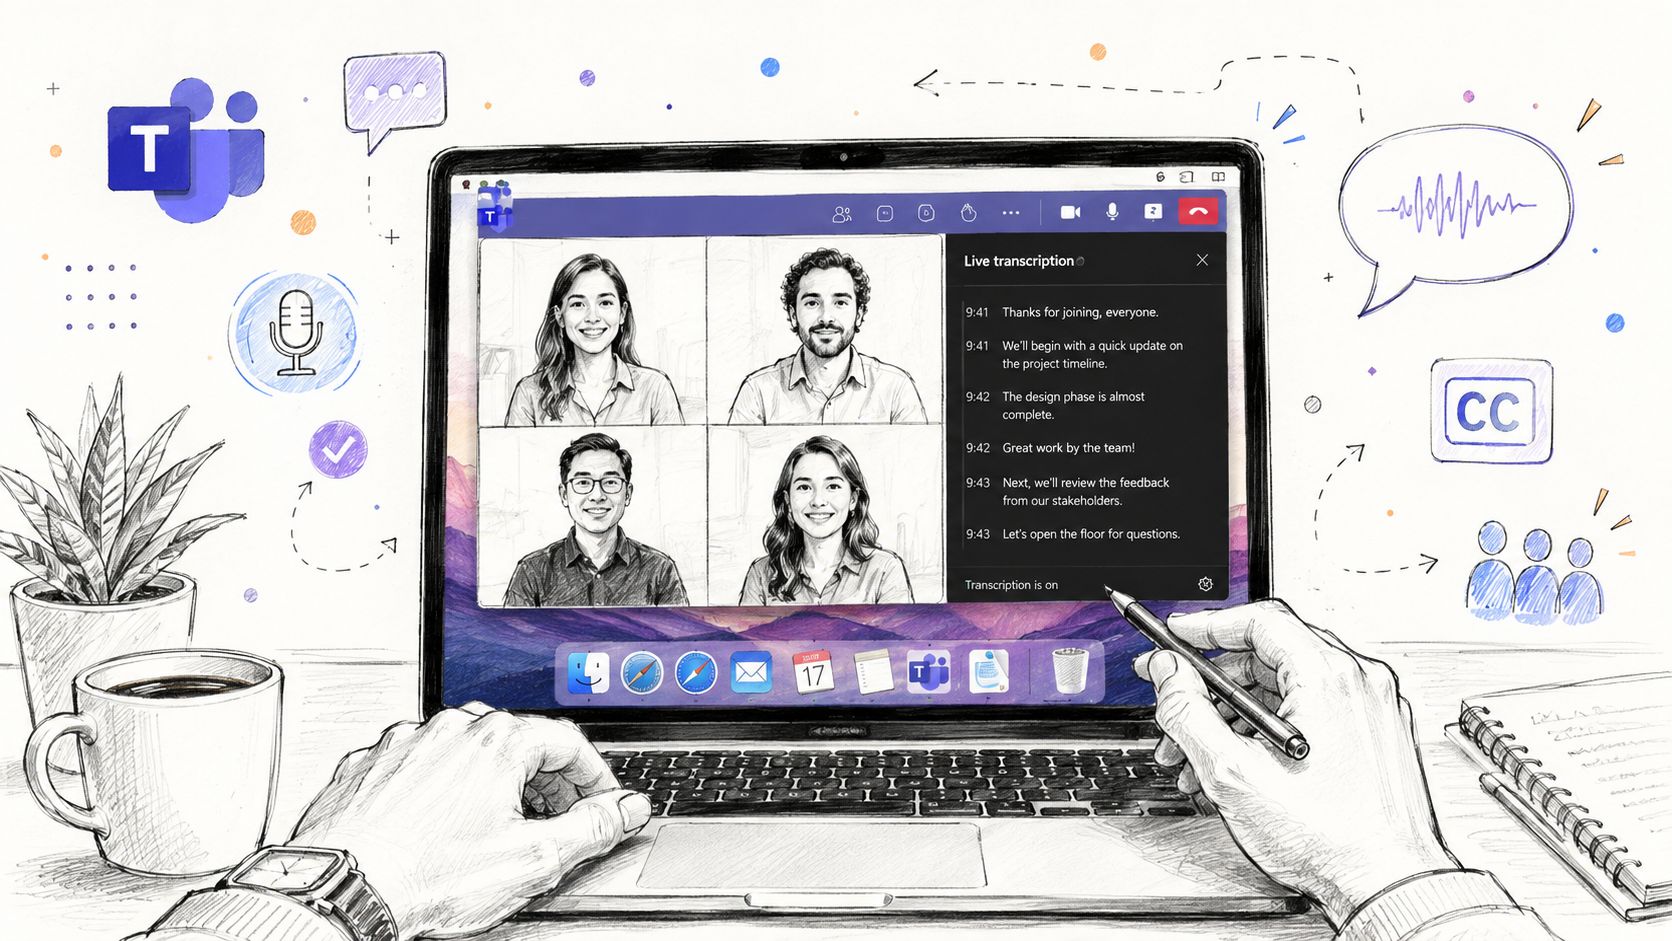
The meeting ends, Teams closes, and the decisions start disappearing. Your notes are split between a half-finished document, a fast-moving chat, and a recording buried somewhere in OneDrive. By the time a colleague asks who agreed to what, you're reconstructing the conversation from memory.
On a Mac, how to transcribe a Teams meeting isn't always a single-click problem. Teams can generate a live transcript, but your organization's policies, meeting role, account type, language settings, and macOS audio routing can all affect whether the option appears or whether the resulting text is usable. When the built-in path is blocked, recording the meeting audio first and processing it with a dedicated transcription tool gives you another route. Guidance on AI transcription for meetings is useful here, particularly if you need notes that are cleaner than the raw Teams output.
Some professionals also use second brain recorder devices to preserve conversations outside a single app. For a Teams call on macOS, though, the practical choice usually comes down to two workflows: transcribe inside Teams while the meeting is happening, or capture the audio and clean it afterward.
Table of Contents
- Why Transcribing a Teams Meeting on Mac Is Trickier Than It Looks
- Using Teams Built-In Live Transcription on macOS
- Recording Teams Audio for Transcription on Mac
- Choosing the Right AIDictation Mode for Teams Audio
- Cleaning and Formatting the Transcript Into Meeting Notes
- Fixing Common Teams Transcription Problems on Mac
- Matching the Right Transcription Path to Your Meeting
Why Transcribing a Teams Meeting on Mac Is Trickier Than It Looks
The assumption is simple: open Teams, click the three dots, start transcription, and download polished notes. In practice, the visible Teams interface is only one part of the workflow. An administrator may have disabled transcription, your role may not allow you to start it, or the meeting may belong to a tenant with restrictions that you can't change from your Mac.
Microsoft announced live transcription with speaker attribution for Teams meetings in 2021, marking the move from manual notes to machine-generated meeting records. The feature captures speech near real time, identifies speakers, and saves the transcript for later reference and download, as described in Microsoft's announcement of live transcription with speaker attribution. That sounds self-contained, but Teams still depends on administrative policy and meeting permissions before it can produce anything.
The Mac-specific complication
The Teams desktop app and Teams in a browser don't always expose identical controls. macOS also handles system audio differently from Windows. If you want to record the voices coming from a Teams call rather than only the sound entering your microphone, you may need an audio-routing device such as BlackHole or Loopback, or a recorder that can access system audio directly.
That creates a useful fork:
- Built-in Teams transcription: Fastest when your organization permits it. It provides timestamps and speaker attribution, but the raw text usually needs editing.
- Recorded-audio transcription: More flexible when the button is missing, greyed out, or unreliable. You control the source file and can run a second pass for names, acronyms, formatting, and action items.
Practical rule: Treat Teams transcription as a governed service, not merely a button in the meeting toolbar.
The distinction matters for client calls, HR conversations, product discussions, and any meeting where the transcript becomes part of a formal record. First determine whether Teams can create the transcript. Then choose how much control you need over capture, privacy, and cleanup.
Using Teams Built-In Live Transcription on macOS
If your tenant allows transcription, the native Teams workflow is the quickest option on a Mac.
Start transcription during the call
Join the meeting in the Teams desktop app and wait until the meeting controls are visible. Then:
- Select More actions, the three-dot menu in the meeting controls.
- Choose Record and transcribe.
- Select Start transcription or Turn on live transcription, depending on the version of Teams you're using.
- Confirm the prompt to start.
Once enabled, Teams displays live text in the transcript panel. Participants may see speaker names alongside the spoken words, and the service adds timestamps to the saved transcript. Microsoft documents this workflow and the post-meeting download options in its guide to starting, stopping, and downloading live transcripts in Microsoft Teams.

Tell participants that transcription is active. Even when the transcript is intended only for internal follow-up, people should understand that their speech is being converted into a saved meeting record. Speaker labels are generated from Teams' participant information and its recognition of who is speaking, so they're useful but not infallible.
Find and download the transcript afterward
When the meeting ends, open the related event in the Teams calendar and select Recap. The transcript should be available there, and Microsoft also documents access through the meeting chat or recap experience. Organizers and co-organizers can download it in .docx or .vtt format, with timestamps and speaker attribution included in the saved record.
The .docx file works well for editing in Word or sharing as meeting notes. The .vtt file is more appropriate when you need caption timing for video. Keep in mind that transcript availability can depend on the meeting's retention and expiration settings, so download important records rather than assuming they'll remain accessible indefinitely.
Check the prerequisites before the meeting
A missing option doesn't necessarily indicate a Mac problem. Microsoft's documentation explains that transcription may be controlled by meeting policies and can be turned off by default in some administrative configurations. Your organization may also require an eligible Microsoft 365 or Teams license, and tenant restrictions can prevent transcription for particular users or meeting types.
English, US, was documented as a supported language for the initial desktop scheduled-meeting workflow. Language availability and feature access can change with Microsoft's service configuration, so check your organization's current policy if another language is required.
The native transcript is convenient, but it's still a working document. Expect to correct names, product terms, acronyms, punctuation, and occasionally speaker assignments before sending it to executives, clients, or a compliance folder.
Recording Teams Audio for Transcription on Mac
When Teams can't create a transcript, record the meeting first. You've got two practical capture routes on macOS: use Teams' own recording feature, or route the call audio into a local recorder.
Use the Teams recording
In the meeting, open More actions, choose Record and transcribe, and select Start recording. Teams will show a notice or consent prompt to participants, and your organization may require everyone to acknowledge the recording. Respect your company's policy and any applicable consent requirements before continuing.
After the call, Teams stores the recording as an .mp4 in the organizer's OneDrive or the relevant SharePoint location, depending on the meeting type and tenant configuration. You can use QuickTime Player to open the video and export an audio-only file, or use another trusted media utility to extract the audio track. An audio file is easier to process and avoids carrying unnecessary video data into the transcription workflow.
This route is simple because Teams handles the capture, but it inherits the same permissions and policy restrictions as native transcription. If recording is disabled, you'll need a separate capture method.
Route Mac audio into a recorder
A dedicated Mac recorder can capture the meeting's output through a virtual audio device. Install the chosen audio driver, select it as the output or aggregate route for Teams, and then choose that same device as the input source in your recorder. BlackHole and Loopback are common examples of virtual routing tools, although the exact setup depends on your Mac's audio configuration.
AIDictation can also be used with a local recorder or a configured system-audio source. Give the app Microphone and Accessibility access in System Settings, select the Teams audio device as the input, and begin capture before important discussion starts. If you're recording a video meeting with screen sharing, use a screen and audio capture option when you need the visual context as well.

For a broader Mac recording workflow, this guide to a voice recorder for MacBook Air covers the permission and input-source details that often determine whether the recording contains the call or only your own microphone.
Audio warning: Disable notification sounds, mute unrelated apps, and test the route before the meeting. A calendar alert or reconnecting Bluetooth headset can end up in the transcript.
A virtual route captures both sides of the call without placing a second microphone in the room. The trade-off is setup complexity. Test it with a short practice call, confirm that the waveform responds when another participant speaks, and keep a fallback such as Teams recording available when policy permits.
For businesses that also handle phone conversations, it's useful to compare this workflow with SnapDial's call recording features, which address a different capture environment from a desktop Teams meeting.
Choosing the Right AIDictation Mode for Teams Audio
The right mode depends on what you're willing to trade. Auto is the practical default when you want the app to balance Mac resources and recognition quality without manually changing engines. It can switch between on-device and cloud processing as conditions and accuracy requirements change.
Local keeps processing on the Mac. AIDictation describes this mode as using Apple's speech framework for on-device recognition, which makes it appropriate when meeting audio contains confidential HR material, legal discussion, or unreleased product information that shouldn't be uploaded to a cloud endpoint. The trade-off is that local recognition may be less suitable when the call includes difficult acoustics, unusual terminology, or language demands that require broader server-side model coverage.
Cloud sends audio to server-side processing and requires an internet connection. It's the more suitable choice when you're prioritizing recognition quality for multilingual calls, noisy rooms, or speakers with strong regional accents. It also introduces a data-handling consideration, so review your organization's policy before using it for sensitive meetings.

Configure the audio path before joining
Set the source to your BlackHole or Teams virtual audio device before the call begins. If your routing utility exposes sample-rate controls, use 16 kHz mono for speech capture, then verify that AIDictation receives the loopback signal rather than silence. Select Auto, Local, or Cloud before joining so you're not changing recognition settings while people are speaking.
Audio conditions matter more than the interface. Industry guidance reports 96–99% accuracy in normal favorable conditions, while another comparison reports 95–99% with clean audio, about 89.6% in real-world meetings, and around 82% in noisy environments. Those figures come from speech-to-text accuracy guidance, and they illustrate why microphone choice, room echo, cross-talk, and turn-taking can outweigh the choice of transcription screen.
Privacy decision: Use Local when the data policy is strict, Cloud when difficult audio is the main obstacle, and Auto when you need a practical balance.
For clinical teams considering voice workflows, this voice recognition in healthcare guide provides useful context around privacy and documentation requirements. For a closer look at keeping recognition on the computer, see on-device speech recognition.
Cleaning and Formatting the Transcript Into Meeting Notes
A raw transcript is evidence of what people said, not finished meeting minutes. The cleanup process should preserve decisions and uncertainty while removing the friction that makes a long dialogue difficult to scan.
Start by importing the captured .wav or .m4a file into AIDictation and running an initial transcription pass. Don't edit every sentence immediately. First, inspect the entire document for recurring errors, especially names, project codenames, product features, and acronyms that the speech engine has no reason to recognize correctly.
Build a vocabulary the engine can reuse
Open the Custom Dictionary and add terms that appear repeatedly. Include the spelling your team uses, not just the pronunciation. Add people's names, internal tools, customer names, and abbreviations such as “OKR” or a product codename.
Then use Context Rules to bias recognition and formatting toward the meeting's subject. If the conversation repeatedly refers to “Q3 OKR” or “Project Beacon,” a context rule can help subsequent passes preserve those terms consistently instead of producing several variations.
Apply structure after the words are stable
Run the AI Cleanup preset after the vocabulary pass. Configure it to remove filler words, collapse consecutive entries from the same speaker, and create paragraph breaks at speaker turns. This makes the transcript easier to skim without asking the cleanup step to resolve vocabulary errors at the same time.
Finish with a manual Find and Replace pass. Look for doubled punctuation, timestamps attached to the wrong sentence, repeated fragments caused by interruptions, and obvious speaker-label mistakes. Compare decisions and action items against the recording before sharing the document.
Export a cleaned .docx when the notes are headed to Outlook or Word. Use Markdown when the destination is Confluence or another documentation system that benefits from lightweight headings and lists. Keep the original recording and untouched transcript separately, especially if the meeting may later need formal verification.
Fixing Common Teams Transcription Problems on Mac
The most common mistake is blaming the Mac first. If Start transcription is missing or greyed out, the cause is often policy, role, licensing, or guest access rather than a broken desktop client. Microsoft's troubleshooting discussion on missing transcription access in Teams points toward administrator settings and meeting-policy checks.
Diagnose access before changing audio settings
Ask your Microsoft 365 administrator to verify the account's service plan and any Teams Premium requirements that apply to your tenant. The relevant distinction isn't “Mac versus Windows.” Teams transcription can depend on the organizer's meeting policy, the tenant configuration, the user's role, and whether the participant is a guest.
Check the meeting type as well. Channel meetings, personal accounts, restricted tenants, and meetings where recording or transcription wasn't enabled can expose different controls. If recording began before transcription was available, the existing recording won't automatically contain a transcript for the earlier portion.

Separate permissions from service failures
On macOS, open System Settings, go to Privacy & Security, and confirm that Teams or your recorder has Microphone permission. Major macOS upgrades can trigger permission resets, and an AirPods reconnect can switch the active input or output device. Check Teams' device settings during the call, then confirm that your recorder still receives a signal.
Microsoft has also documented service incidents where recording, transcription, or captions failed intermittently or started late because of a client-build issue. Its current troubleshooting material includes diagnostics for transcription and captions, so check Microsoft's service-health information before repeatedly reinstalling the app.
Diagnostic order: Verify policy and role access, check licensing, reset macOS permissions, confirm the audio device, then test a fallback recording.
If the built-in control remains blocked, route system audio through a recorder or AIDictation. That won't override an organization's recording policy, and you should still follow consent and retention rules, but it gives you a technically separate path when Teams' transcription service isn't available.
Matching the Right Transcription Path to Your Meeting
Different meetings need different controls. A routine internal stand-up benefits from the least disruptive workflow, while a regulated discussion demands a deliberate privacy decision before anyone presses Record.
For a standard one-to-one or internal team call, start with Teams live transcription and download the transcript from Recap afterward. Run a cleanup pass before sharing it in chat, especially if the conversation includes names, acronyms, or decisions buried among informal discussion.
For HR, legal, healthcare, or contract conversations, choose a workflow approved by your organization. A local processing mode can keep the audio on the Mac, but it doesn't remove the need for participant consent, access controls, retention rules, or a review of the final text.
Multilingual calls and difficult external sessions often justify a cloud-based transcription pass when accuracy matters more than keeping processing local. Verify the result against the Teams transcript or recording, particularly around names, commitments, translated terms, and numerical expressions.
| Meeting type | Recommended path | Mode | Privacy posture |
|---|---|---|---|
| Internal one-to-one or stand-up | Teams live transcription, followed by cleanup | Auto | Governed by Teams policy and organizational settings |
| HR, legal, healthcare, or contract discussion | Approved local recording and post-meeting review | Local | Audio remains on the Mac during processing |
| Multilingual or acoustically difficult call | Recorded audio with a higher-coverage transcription pass | Cloud | Requires approval for cloud processing |
| Greyed-out or unavailable Teams control | Route system audio to a separate recorder | Auto or Local | Depends on the recorder and company policy |
The short rule is built-in first, Local when privacy rules apply, and Cloud when accuracy is the bottleneck. If Teams can't provide the transcript, capture clean audio before the meeting starts rather than trying to rebuild the conversation afterward.
AIDictation gives Mac users a practical way to capture Teams audio, choose Auto, Local, or Cloud processing, and turn a raw recording into editable meeting text with dictionary and cleanup tools. Visit AIDictation to test a transcription workflow that fits your Teams permissions, audio quality, and privacy requirements.
Frequently Asked Questions
What does How to Transcribe Teams Meeting Audio on a Mac cover?
The meeting ends, Teams closes, and the decisions start disappearing. Your notes are split between a half-finished document, a fast-moving chat, and a recording buried somewhere in OneDrive.
Who should read How to Transcribe Teams Meeting Audio on a Mac?
How to Transcribe Teams Meeting Audio on a Mac is most useful for readers who want clear, practical guidance and a faster path to the main takeaways without guessing what matters most.
What are the main takeaways from How to Transcribe Teams Meeting Audio on a Mac?
Key topics include Table of Contents, Why Transcribing a Teams Meeting on Mac Is Trickier Than It Looks, The Mac-specific complication.
Ready to try AI Dictation?
Experience fast voice-to-text on your device. Free to download.
Download Free