Dictation on macOS: Setup, Apps, and Pro Tips
You've got a browser tab open, a rough outline in your head, and your hands are tired of turning complete thoughts into individual keystrokes. You press the dictation shortcut, start speaking, and then discover that nothing is appearing because the cursor sits inside a browser field that handles text input differently. The microphone didn't fail in the obvious sense. The workflow failed somewhere between your voice and the editing field.
That distinction matters. Dictation on macOS is a layered system, not one switch that guarantees speech will become text everywhere. Your microphone, macOS recognition engine, active application, permissions, language settings, and optional voice app all influence the result. I moved my writing workflow to voice on a Mac last year, and the biggest improvement came from treating those layers separately rather than assuming Apple's built-in feature was either perfect or useless.
Table of Contents
- Why Dictation on macOS Feels Different in 2026
- Turning On and Configuring Built-In macOS Dictation
- Dictation Controls, Shortcuts, and Language Settings
- When a Third-Party App Beats Built-In Dictation
- Microphone, Privacy, and Permission Setup That Actually Works
- Building a Daily Dictation Workflow That Sticks
- Troubleshooting and Accuracy Limits You Should Know
Why Dictation on macOS Feels Different in 2026
The first time dictation fails, the instinct is to blame recognition accuracy. In practice, the failure may happen earlier. The microphone may be listening to room noise, the app may not accept dictated input properly, or the cursor may no longer be active in the field you thought you selected.
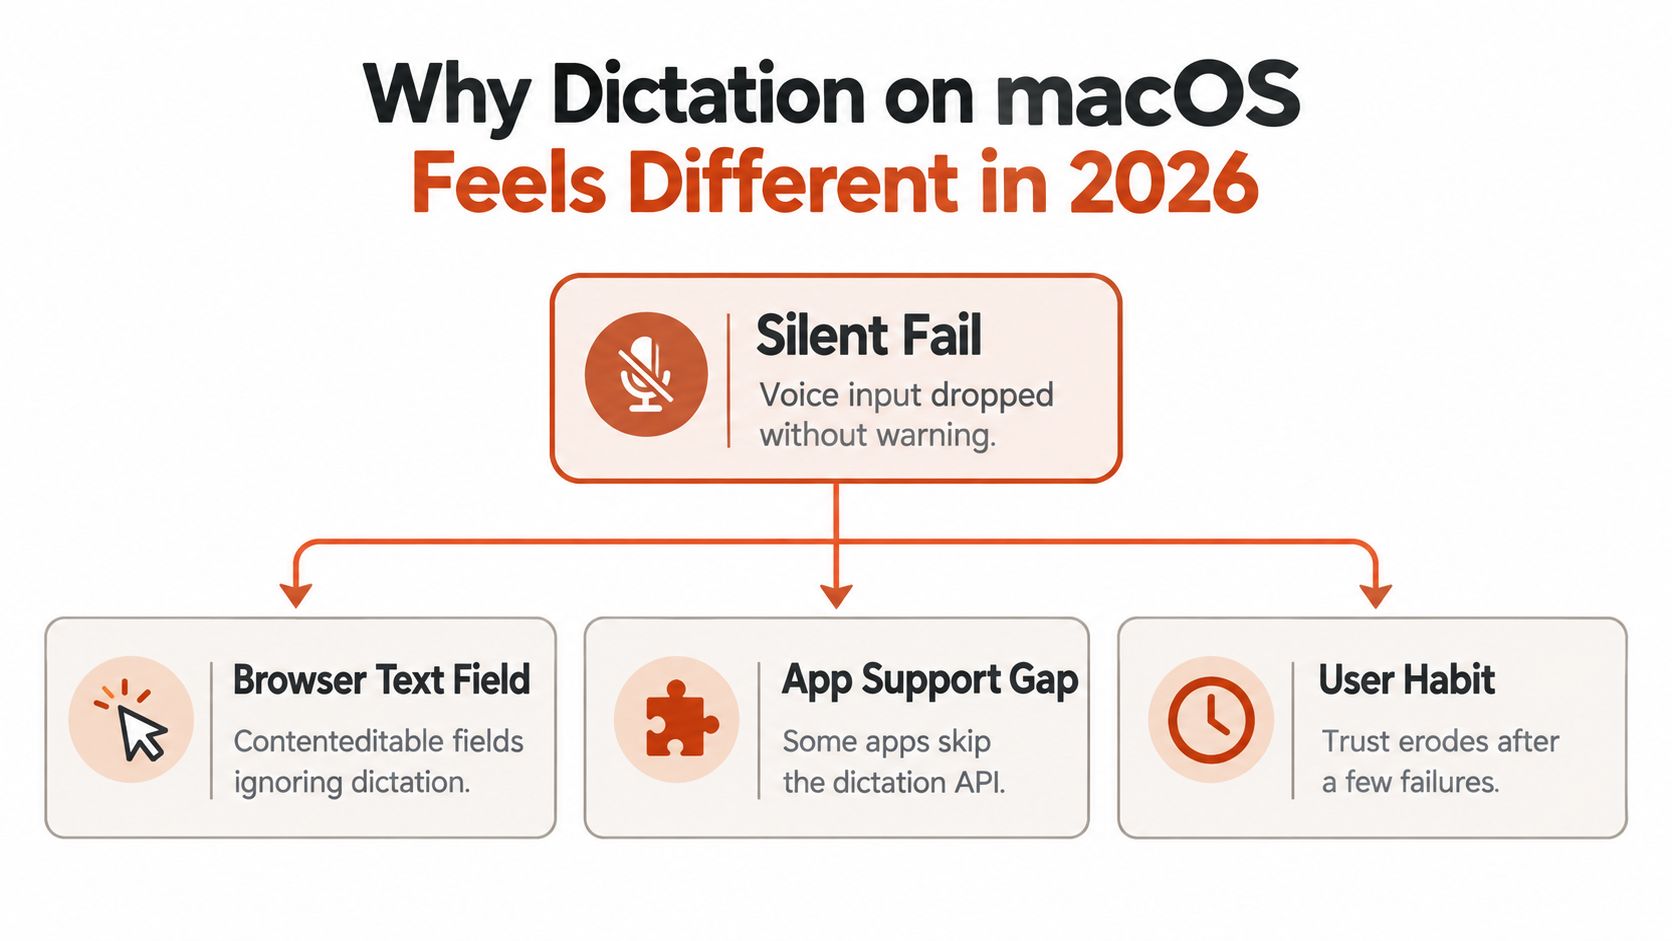
I think about the setup as four layers:
- Hardware captures your speech. A built-in laptop microphone can work well in a quiet room, while a headset or directional microphone can reduce keyboard noise and room reflections.
- macOS processes the audio. Apple describes Dictation as a system-wide speech-to-text feature that places spoken words into editable fields across Mac applications, including messages and documents. Its processing can use the Mac itself or Apple servers, depending on language, device configuration, and settings (Apple's Dictation guide).
- The active app decides how its text field behaves. Notes, Mail, Pages, browser forms, web editors, terminals, and code editors don't all expose text input in the same way.
- A third-party tool can replace or augment the system path. These apps may capture a complete passage first, clean it up, then insert the result at the active cursor.
The recognition layer has changed
Older Mac dictation workflows depended more heavily on network processing. Later Enhanced Dictation features and Apple-silicon Macs introduced more local processing, creating a hybrid model that can reduce reliance on connectivity and give users stronger privacy choices. A technical history of dictation on Mac describes this shift from mostly online recognition toward neural, partially local processing.
That doesn't mean every Mac, language, or setting behaves identically. It also doesn't mean on-device processing automatically solves app support or microphone problems. A fast recognition engine can't insert text into a field that rejects the input, and a flawless app can't rescue distorted audio.
Practical rule: When dictation fails, identify the layer before changing tools. Test the microphone, test a simple native text field, then test the same shortcut in the problem app.
This approach stopped me from treating every silent failure as an accuracy problem. The rest of the setup follows the same logic, with one fix for each layer.
Turning On and Configuring Built-In macOS Dictation
Start with the operating system before installing anything else. Open the Apple menu, choose System Settings, then select Keyboard and scroll to the Dictation section. Turn Dictation on, then open the menu beside it to choose the recognition mode that suits your language, device, and privacy requirements.
Choose the processing mode deliberately
Use On-device Dictation when local processing is your priority and your language is supported on your Mac. Apple's available language support can vary by configuration, so check the choices shown in your own Dictation menu rather than assuming every language works offline.
Choose the alternative server-backed mode when you need broader language coverage, when your preferred dialect isn't available locally, or when your own testing produces better recognition with that engine. This option requires an active internet connection, and network-based dictation can send audio to Apple servers for processing.
The practical choice isn't “private versus accurate” in every case. It's a configuration decision. Local processing can be valuable for sensitive notes and unreliable connections, while server processing may be the more useful option for a language or accent that your Mac handles better online.
Enable the supporting controls
Open the Dictation Commands submenu if your version of macOS offers Enhanced Dictation there. macOS may download a language model so the selected recognition path can continue working without a network request. The exact options can differ by Mac and language, so read the privacy and availability information shown in the settings panel.
You can also enable the Dictation menu bar icon if you want a visible status indicator. Turn on Enable Dictation Keyword for hands-free activation, then choose a phrase such as “Computer” or “Hey Mac” if those options are available in your configuration.
Before testing, click inside a plain text field in Notes or TextEdit. Start with a short sentence, stop dictation, and check whether the text appears. If you want another practical walkthrough, this guide to using dictation on a Mac covers the same basic setup with a focus on everyday use.
Dictation Controls, Shortcuts, and Language Settings
The default start command is usually the Globe key, sometimes labeled Fn, pressed according to the shortcut shown in Keyboard settings. Press it to begin dictation, then use the same control to stop, or double-tap the key to end a session when that behavior is enabled.
I prefer a custom shortcut because it keeps dictation separate from other keyboard functions. In the Shortcuts panel, assign a key such as Right Option or Left Control, then use that same command consistently across apps. A reliable start and stop gesture matters more than a clever phrase. If you leave dictation running while thinking, you may capture silence, room noise, or an unfinished sentence.
Make language switching predictable
In the Dictation settings, add the languages you use and reorder them so the most common one appears first. When you move between English, Spanish, or another supported language in the same session, select the appropriate language from the Dictation menu instead of expecting macOS to infer every switch correctly.
Auto-punctuation and auto-capitalization are useful defaults, but test them with your actual writing style. Enable the listening sound if you often can't tell whether the system heard your shortcut. The microphone level and surface widget also provide quick feedback. If the level doesn't move when you speak, stop adjusting language settings and check the input device instead.
Dictation Commands let you say instructions for punctuation, capitalization, cursor movement, deletion, and text selection. The available command set depends on macOS and language settings, so keep this reference to Mac dictation commands nearby while building muscle memory. For multilingual writing that includes accented Irish characters, the fada keyboard guide is a useful companion because dictated text isn't always the fastest way to enter a specific diacritic.
When a Third-Party App Beats Built-In Dictation
Built-in macOS Dictation is the right tool for a quick reply, a short note, or a message you'll send without much editing. It starts quickly, costs no extra setup, and places raw speech into the active text field.
The limits appear when the spoken material becomes a draft. Long-form prose needs context, technical vocabulary needs a custom dictionary, and spoken self-corrections need more than literal transcription. The built-in feature also doesn't provide app-specific formatting rules, so the same raw output may need different cleanup in an email, a technical document, and a chat message.
For broader background on turning voice data into text, it helps to distinguish transcription from writing assistance. A transcript records what you said. A writing tool can also remove filler words, repair grammar, structure paragraphs, and preserve the intended meaning when you revise yourself aloud.
| Factor | Built-In macOS Dictation | AIDictation |
|---|---|---|
| Short messages | Fast, direct, and already integrated into macOS | Adds a separate capture path |
| Long-form prose | Produces text that may need manual cleanup | Can capture longer passages and apply cleanup when connected |
| Technical terms | Benefits from careful pronunciation and text replacements | Supports a custom dictionary and context rules |
| Punctuation | Uses macOS punctuation and spoken commands | Cloud processing can add punctuation and formatting |
| Offline use | Depends on language, Mac configuration, and selected mode | Local Mode is designed for offline on-device dictation on compatible Apple-silicon Macs |
| Editing required | Usually higher for client-ready prose | Can reduce cleanup, but still needs human review |
Use the built-in option when speed and simplicity win. Use AIDictation when the output needs to read like finished writing rather than a raw transcript. The useful decision point is simple: are you dictating throwaway text, or text that represents your work? A practical overview of dictation software for Mac can help you compare that workflow with other dedicated tools.
Microphone, Privacy, and Permission Setup That Actually Works
Many “accuracy” problems are permission or input problems in disguise. A Mac can show a microphone in the device list while an app lacks permission to use it, or the microphone can be active while capturing more keyboard and air-conditioning noise than speech.
Open System Settings, choose Privacy & Security, then select Microphone. Enable access for the applications you use for dictation. Also check the relevant Speech Recognition permission, because recent macOS versions may separate it from microphone access.
Test the signal before blaming recognition
Go to System Settings, then Sound, then Input. Select the intended microphone and watch the input level meter while speaking at your normal volume. Compare the built-in microphone with an external headset or USB microphone in the room where you work.
For an external microphone, start with the physical setup:
- Gain: Keep the input strong enough to register clearly without clipping.
- Pickup pattern: Choose cardioid in a noisy room when the microphone supports it, rather than omnidirectional pickup.
- Sample rate: If macOS or the microphone utility exposes a sample-rate choice, use a stable setting and avoid changing it while testing other variables.
- Position: Put the microphone close enough to capture speech directly, but not so close that breath sounds dominate.
Privacy check: Apple documents that users can choose whether to share audio recordings from Siri and Dictation interactions. Review that setting before using dictation for sensitive material.
Network-based Dictation may send audio to Apple servers, depending on the selected mode and configuration. For healthcare, engineering, legal, or confidential business work, choose a compatible local-processing option when it meets your language and accuracy needs. Also review the privacy model of any third-party app before sending recordings or transcripts through its cloud service.
The tight checklist is permissions, device, gain, environment. Change one item at a time so you know which adjustment helped.
Building a Daily Dictation Workflow That Sticks
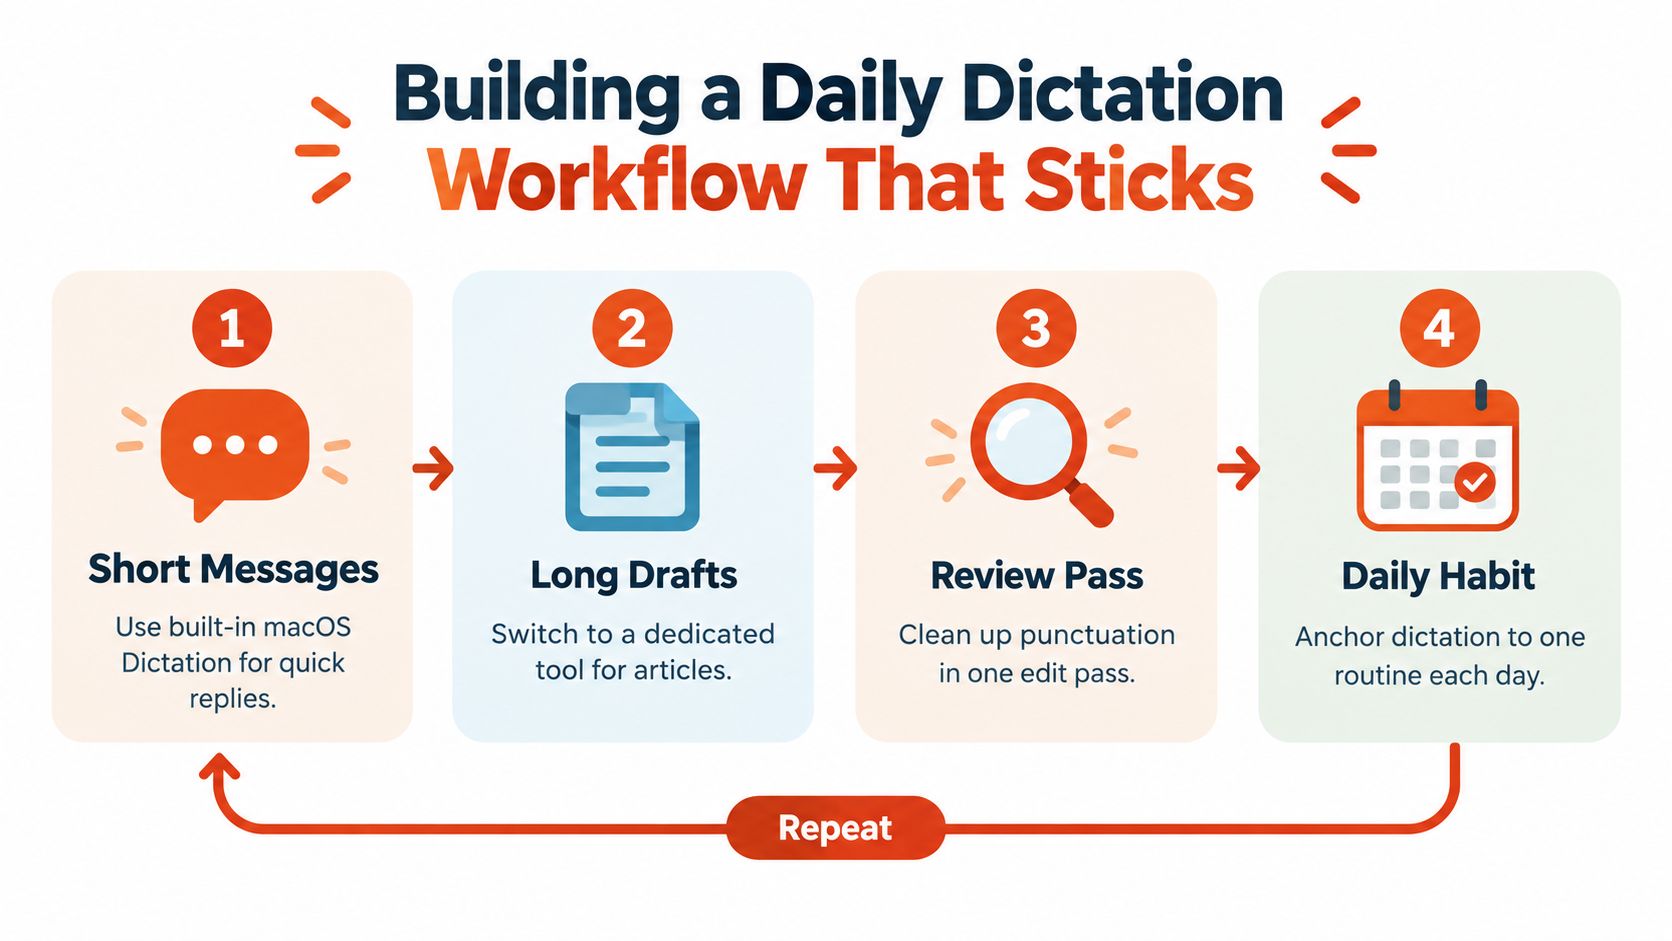
Voice input becomes useful when it has a job. I don't ask one engine to handle a two-word reply, a technical specification, and a private voice memo. I assign each type of work to the shortest path that produces acceptable text.
Use different modes for different writing
For short messages, use built-in macOS Dictation. You get the benefit immediately, and the occasional correction usually costs less than opening another app.
For a paragraph, article draft, client email, report, or meeting summary, use a dedicated voice-to-text tool with cleanup and context controls. Keep the distinction practical rather than ideological. The right question is whether the text must be merely captured or ready to revise.
Add recurring corrections under System Settings, Keyboard, Text Replacement. Names, product terms, abbreviations, and specialist vocabulary can often be corrected automatically before you inspect the draft. A custom dictionary is especially useful when your work contains terms that general speech recognition treats as unfamiliar.
Build three habits
- Dictate the first draft only. Speak in complete thoughts, but don't stop after every sentence to repair a minor error.
- Edit with the keyboard. Voice is excellent for getting ideas out. Keyboard editing is usually faster for precise selection, deletion, and rearrangement.
- Read the final version aloud once. Your ear catches missing words, awkward transitions, and punctuation problems that a silent screen review can miss.
Match the microphone to the setting. A USB headset suits an open office, a desk condenser suits a quiet room, and a lapel microphone works well for walking-and-talking notes. A hands-free note-taking device can make sense when the goal is capturing ideas away from the desk, but it introduces a separate recording and privacy workflow.
Use one shortcut for built-in dictation and one for your dedicated tool. After a short period of consistent use, muscle memory replaces menu hunting.
Troubleshooting and Accuracy Limits You Should Know
Don't treat every bad transcript as proof that the engine is poor. Recognition quality depends on the audio signal, language selection, accent, vocabulary, background noise, and whether more than one person is speaking. Word Error Rate is the standard way to compare a transcript with a reference, counting substitutions, insertions, and deletions, but Apple doesn't publish one official accuracy benchmark for macOS Dictation. Independent measurements also vary by dataset, language, device, and recording conditions.
When the microphone indicator doesn't appear, click into a simple native text field, recheck the shortcut, and confirm microphone and Speech Recognition permissions. If words disappear mid-sentence, test another input device and reduce room noise before changing engines. If the same odd substitutions repeat, add the term to Text Replacement or a supported custom dictionary.
A quick recovery sequence
- After sleep: Restart the affected app first. If Dictation remains unavailable, toggle Dictation off and on in Keyboard settings.
- For persistent recognition problems: Review the Speech Recognition data under
~/Library/SpeechRecognitionand remove the relevant cache files only if you understand what you're deleting. - For a damaged local model: Open the Dictation privacy information from the relevant Keyboard or Dictation settings and review the option to manage the on-device model.
- For language errors: Switch to the actual spoken language or dialect, then test a clean sentence before resuming the draft.
- For difficult material: Move to a third-party engine when technical vocabulary, long context, or formatting creates more editing than typing would.
Clean audio in a supported language can produce highly usable text, but no setup guarantees perfect transcription. Overlapping speech, unusual names, jargon, and a mismatched dialect setting will expose the limits quickly. The reliable workflow is to restart the app, verify permissions, test the microphone, switch languages, and only then escalate to another engine.
AIDictation adds a separate macOS voice-to-text path with local offline dictation on compatible Apple-silicon Macs and optional cloud cleanup for punctuation, formatting, filler removal, and self-corrections. Try the workflow with AIDictation when built-in Dictation handles short messages well but leaves your longer drafts needing too much manual editing.
Frequently Asked Questions
What does Dictation on macOS: Setup, Apps, and Pro Tips cover?
You've got a browser tab open, a rough outline in your head, and your hands are tired of turning complete thoughts into individual keystrokes. You press the dictation shortcut, start speaking, and then discover that nothing is appearing because the cursor sits inside a browser field that handles text input differently.
Who should read Dictation on macOS: Setup, Apps, and Pro Tips?
Dictation on macOS: Setup, Apps, and Pro Tips is most useful for readers who want clear, practical guidance and a faster path to the main takeaways without guessing what matters most.
What are the main takeaways from Dictation on macOS: Setup, Apps, and Pro Tips?
Key topics include Table of Contents, Why Dictation on macOS Feels Different in 2026, The recognition layer has changed.
Ready to try AI Dictation?
Experience fast voice-to-text on your device. Free to download.
Download FreeRelated Posts
Is There a Speech to Text App for Mac? a Practical Guide
Is There a Speech to Text App for Mac. Wondering if there is a speech to text app for Mac? Compare built-in Dictation, on-device engines, and AI tools like
Dictation Software for Medical Professionals Compared
Compare dictation software for medical professionals. Evaluate accuracy, HIPAA privacy, ambient AI tradeoffs, and on-device tools like AIDictation.
How to Use Voice Dictation on Mac
Use Voice Dictation on Mac. Master voice dictation on your Mac — from built-in Apple features to third-party tools like AIDictation