How to Fix Mic Delay on Mac: A Complete Guide
You finish a sentence on your Mac, but your voice returns through the headphones a moment later. In a video call, that delay makes you hesitate. During dictation, words appear after you've already moved on. In a stream or recording session, the lag can make you overcorrect your delivery and lose your natural timing.
Learning how to fix mic delay starts with treating the Mac as a complete audio system, not a microphone with one troublesome setting. The signal passes through hardware, macOS, drivers, buffers, applications, processing plugins, and the playback path. A delay introduced at several small points can become obvious by the time you hear yourself.
Table of Contents
- Why Your Microphone Feels Behind the Curve
- Inside macOS Audio Architecture
- Primary Configuration Fixes to Reduce Latency
- Hardware Choices and Monitoring Techniques
- Troubleshooting App-Specific Sync Issues
- Establishing a Stable Recording Routine
Why Your Microphone Feels Behind the Curve
You finish a sentence on your Mac, yet your voice arrives in the headphones a moment later. The same lag can make a video call feel awkward, delay dictated text, or disrupt timing during a stream. The microphone may be working correctly. The delay often enters later in the macOS signal chain.
Your voice moves from the microphone capsule through analog-to-digital conversion, the interface or built-in hardware, macOS audio services, an application buffer, computer processing, and the output device. Software monitoring sends the signal through that path again before you hear it. A delay at several stages can therefore become obvious even when no single component appears faulty. This microphone latency guide outlines why total round-trip latency matters: below 10 ms is often effectively imperceptible, while delays above 30 ms can interfere with real-time performance. Professional studio recording is usually kept under 5 ms, home recording and podcasting often fall between 5 and 15 ms, live streaming is generally acceptable below 20 ms, and video calls commonly remain workable below 30 ms.
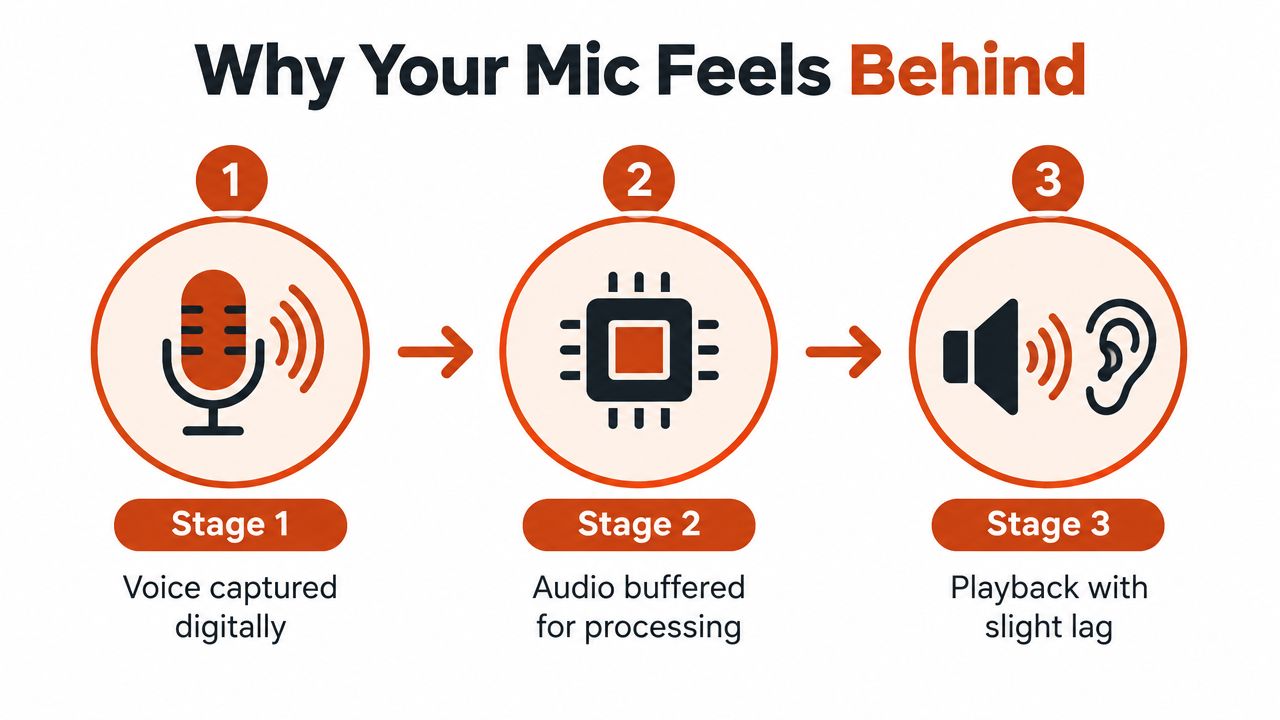
Find the stage that adds the delay
If a USB microphone sounds delayed only through Zoom, Logic Pro, or OBS, inspect the application path before replacing hardware. Mute software monitoring. If the delay disappears, the Mac is capturing audio properly, but the application is returning a buffered signal to your headphones. Direct monitoring can confirm this by sending the input to the headphones before the software pipeline adds processing time.
Analog conversion usually contributes less delay than software buffering. One industry explanation places combined A-D and D-A conversion at considerably less than 5 ms, while another describes interface conversion as about 1 ms before the signal reaches the computer. Capture buffers can instead fall in the 10 to 40 ms range. A 128-sample buffer at 44.1 kHz creates roughly 2.9 ms of buffer time before hardware overhead, as explained in Sound On Sound's explanation of audio latency.
Practical rule: Test software monitoring, buffer settings, device formats, and the application pipeline before buying another microphone.
For Mac-specific context on device selection and system-level audio faults, on-site Mac audio help can be useful. The diagnostic question is direct: does the delay occur in direct monitoring, or only after audio passes through macOS and the application?
Inside macOS Audio Architecture
A microphone can be working correctly while the macOS signal chain adds delay. Core Audio lets multiple applications share devices, which makes routing flexible but also allows virtual devices, background processes, and app-specific settings to alter the path. A format selected in one place may not match the behavior imposed elsewhere.
Audio MIDI Setup provides the clearest system-level view. Open it from Applications, Utilities, then inspect the microphone, interface, headphones, and any aggregate device. Check each device's sample rate and bit depth. Input and output should use the same working rate, commonly 44.1 kHz or 48 kHz, so macOS and the application do not perform unnecessary conversion. Also review virtual routing and aggregate devices, since they can add another stage before the signal reaches the recording app.
Why Apple Silicon changes the diagnosis
Apple Silicon uses unified memory, so the CPU and other processing components share the same memory pool. That design can handle audio efficiently, but it does not remove scheduling pressure. A browser with many active tabs, a real-time transcription engine, video encoding, or a plugin chain can still compete for processing time. At a small buffer size, that competition may produce clicks, dropouts, or unstable monitoring.
On-device recognition can avoid a server round-trip, but the microphone must still pass cleanly through macOS and the application pipeline. A practical comparison of local and cloud processing appears in this guide to on-device speech recognition.
The reliable setting is the smallest buffer the complete workflow can sustain without CPU spikes or audio errors. Test the full chain, including the chosen device, sample-rate conversion, virtual routing, plugins, and background workloads. Apple Silicon may reduce processing friction, but it cannot correct conflicting formats or an overloaded application path. A stable configuration comes from removing unnecessary stages, then checking whether the delay remains in the application rather than assuming the hardware is at fault.
Primary Configuration Fixes to Reduce Latency

A delayed voice in your headphones often starts with a mismatched device path, not an overly large buffer. In System Settings, verify the microphone under Input and the headphones or interface under Output. Then check the recording or dictation app separately. Applications can retain their own device choices, so the system settings alone do not confirm the active signal route.
Strip the chain back while testing. Turn off audio enhancements, automatic effects, and additional noise suppression. These tools may help during calls, but they add processing stages and can make timing less predictable.
A reliable macOS setup sequence
-
Select the intended devices: Choose the same physical microphone and output device in System Settings and in the application. Do not assume the app follows macOS automatically.
-
Align the formats: In Audio MIDI Setup, set matching sample rates, such as 44.1 kHz or 48 kHz, for input and output. Confirm the same setting in the interface control panel and application. Avoiding conversion removes one possible source of delay.
-
Lower the application buffer: For low-latency capture, support guidance commonly recommends 64 to 128 samples, as described in Hollyland's microphone delay recommendations. If the application uses milliseconds, reduce the value gradually until clicks or dropouts appear, then raise it to the smallest stable setting.
-
Test one change at a time: Speak while monitoring through headphones. If glitches start, the buffer may be too aggressive for the current workload. Close browsers, transcription tools, and other background processes, then test again. This separates scheduling pressure from an interface or routing fault.
-
Check the driver path: Built-in Mac microphones use Core Audio directly. Third-party interfaces can also depend on manufacturer software, firmware, or control panels. If the delay began after an update, reinstalling or rolling back the relevant component may help more than reducing the buffer further.
Lower buffers improve response but give macOS less time to process each audio block. Audio latency guidance from Sponcomm also identifies sample-rate alignment, operating-system scheduling, and application offsets as factors alongside buffer size.
A stable setup is the smallest setting the complete chain can sustain without errors. Test the microphone, output device, conversion, routing, effects, and background workload together. Use the following walkthrough as a visual reference for checking the Mac audio path and dictation behavior.
Hardware Choices and Monitoring Techniques
The cleanest solution depends on whether you need to hear yourself while recording. A USB microphone monitored through an application sends your voice into the Mac and back out again. That path is convenient, but it exposes you to application buffering and processing.
An audio interface with direct monitoring creates a separate hardware monitoring path. Your microphone signal reaches the interface, and the interface sends it directly to your headphones without waiting for the Mac to process and return it. You can still record into the Mac, but you monitor the immediate hardware signal instead of the software return.
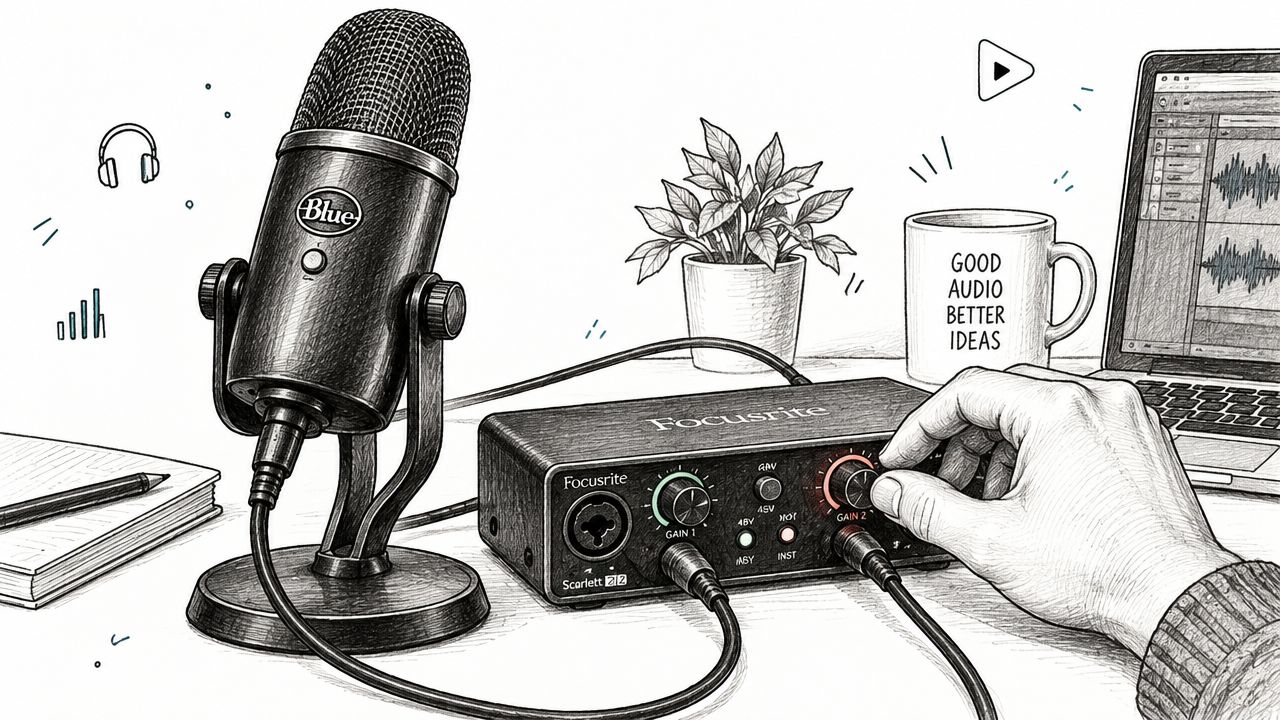
Choose monitoring for the job
| Setup | Strength | Trade-off |
|---|---|---|
| Mac software monitoring | Lets you hear plugins and application effects | Adds buffer and processing latency |
| Interface direct monitoring | Provides an immediate monitor path | You may not hear software effects in real time |
| Interface with onboard DSP | Can provide monitored effects outside the Mac's main path | Requires compatible hardware and configuration |
| Built-in Mac microphone and speakers | Simple and portable | Offers fewer monitoring and routing controls |
Direct monitoring is usually the right choice for a singer, podcaster, or presenter who needs natural timing and doesn't need to hear a processed return. Software monitoring makes sense when the effect itself is part of the performance, but then the complete round-trip measurement matters.
For speech capture, microphone selection still matters more than brand assumptions. A practical guide to choosing a microphone for speech can help you match the pickup pattern and connection method to your room and working distance.
Cable quality deserves a precise diagnosis. A poor or damaged USB or Thunderbolt connection is more likely to produce instability, dropouts, or reconnects than a smooth, constant delay. Test with a short, reliable cable, connect the interface directly to the Mac, and remove hubs temporarily. If the delay remains steady but disappears with direct monitoring, the cable probably isn't the primary cause. If the signal stutters or the device repeatedly drops out, investigate the connection and power path.
Troubleshooting App-Specific Sync Issues
A Mac may respond correctly in one application and feel delayed in another. The remaining fault usually sits in that app's capture pipeline, a virtual audio device, or a clock relationship between audio and video. Test the complete macOS signal chain rather than changing buffer sizes blindly.
Start by isolating the application. Quit meeting tools, browsers, screen recorders, DAWs, transcription software, virtual mixers, and any other program that can access the microphone. Reopen only the application you need and make a short recording. If the delay disappears, launch the other tools individually until the conflict returns. This identifies the application or virtual route that changes the signal path.
Separate monitoring delay from sync delay
A voice that reaches your headphones late indicates a monitoring problem. A voice that sounds timely while recording but appears behind the camera footage indicates a synchronization problem. Both can occur together, but monitoring requires a different correction from source alignment.
For streaming or video production, use the application's sync offset, render delay, or per-source alignment control. First determine which stream arrives early, then delay that stream. Applying an offset to the wrong source increases the mismatch. For a finished recording that needs spoken and visual timing corrected, a dedicated Nim lip sync tool can handle the alignment after capture.
Do not reduce the buffer when the fault is a clock or offset mismatch. A stable, slightly larger buffer is preferable to an unstable setup that clicks during speech.
Check sample rates whenever several applications share the interface. One application may open the device at one rate while another expects a different rate, causing macOS to convert or reschedule the stream. Set the intended rate in Audio MIDI Setup, then match it in the DAW, streaming application, and virtual device. Temporarily disable lookahead plugins and heavy denoising until the basic path stays synchronized.
If only dictation is delayed or routed incorrectly, verify the microphone selected inside the dictation app. Reselect the input or restart the Mac to rebuild the route. The guidance on dictation not working on a Mac applies when speech input is affected while other audio remains normal.
Finish with a dry recording using no effects, virtual routing, or monitoring plugin. Add each stage back separately. This exposes whether the delay begins in the macOS route, the application's capture pipeline, or a plugin that adds processing time.
Establishing a Stable Recording Routine
Latency often returns when the macOS signal chain changes between sessions. A video call may open an aggregate device, a browser may claim the microphone, or an interface may reconnect at a different format. Run a short pre-session check before those changes become audible.
Use a repeatable preflight check
- Confirm the device: Check the microphone and output in macOS, then verify both inside the active application.
- Confirm the format: Open Audio MIDI Setup and ensure connected devices use the intended sample rate.
- Confirm the monitor path: Choose direct hardware monitoring or software monitoring. Keep both active only when you deliberately want the doubled sound.
- Confirm stability: Speak continuously and watch for clicks, dropouts, CPU spikes, or delayed playback.
- Confirm the workload: Close unnecessary browsers, video tools, cloud sync tasks, and background audio applications before lowering the buffer.
- Confirm the recording: Make a short test capture and check timing, not only tone. If a camera is involved, confirm that speech aligns with the video.
Treat the buffer as a stability control, not a competition. Start with a setting that runs cleanly, then reduce it only when the workflow needs faster software monitoring. If glitches appear, increase the buffer, remove processing, or switch to direct monitoring. A reliable session matters more than a marginal timing gain.
Keep a note of the working configuration. Record the selected input and output, sample rate, buffer, monitoring mode, and applications open during a successful session. This creates a known-good baseline after macOS, interface, or application updates.
For voice calls and dictation, simplify the chain before optimizing every stage. Use one microphone, one output path, consistent formats, and as few virtual devices as possible. Recording and streaming may require added routing or sync offsets, but each setting should address a specific requirement.
If the delay returns, reproduce it with the dry setup first. Check device selection, format alignment, and application ownership before changing hardware. This sequence keeps the fault in the macOS route, application pipeline, or plugin processing path rather than masking it with an unnecessary purchase.
Don't chase a smaller buffer when the fault is a clock or offset mismatch.
AIDictation turns speech into ready-to-send writing on macOS. Auto Mode chooses between on-device and cloud recognition, while Local Mode processes speech on Apple Silicon. If microphone routing or dictation delay disrupts your workflow, visit AIDictation to test a simpler voice-to-text path.
Frequently Asked Questions
What does How to Fix Mic Delay on Mac: A Complete Guide cover?
You finish a sentence on your Mac, but your voice returns through the headphones a moment later. In a video call, that delay makes you hesitate.
Who should read How to Fix Mic Delay on Mac: A Complete Guide?
How to Fix Mic Delay on Mac: A Complete Guide is most useful for readers who want clear, practical guidance and a faster path to the main takeaways without guessing what matters most.
What are the main takeaways from How to Fix Mic Delay on Mac: A Complete Guide?
Key topics include Table of Contents, Why Your Microphone Feels Behind the Curve, Find the stage that adds the delay.
Ready to try AI Dictation?
Experience fast voice-to-text on your device. Free to download.
Download Free